The Ashlar

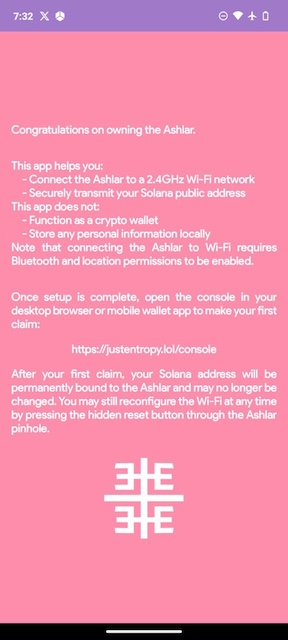
The Ashlar is our custom engineered ESP32 mining device. It comes from the factory pre-flashed. All you have to do is plug it in, connect to your 2.4GHz Wi-Fi network, and provide your Solana public address. Support is available in the Discord server.
Prerequisites
- A mobile phone running Android or iOS
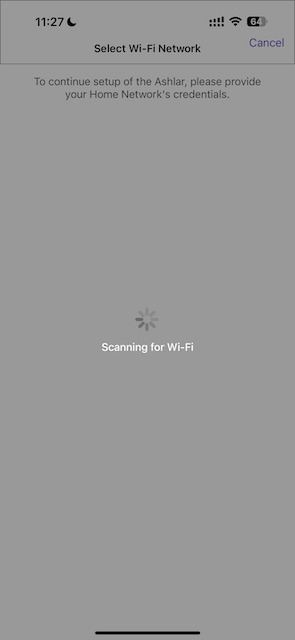
- A 2.4GHz Wi-Fi network with Internet access NOTE: Many Wifi networks are configured by default to run a 2.4GHz and a 5GHz network with the same network name. This may cause failure to identify the network or failure to join the network in some cases. If you have issues connecting to your Wi-Fi network we recommend creating a stand-alone 2.4GHz Wi-Fi network with a unique name. This is a limitation of ESP32 devices and outside of our control
- An Ashlar
- A Solana wallet
If you are using a computer you will need a wallet plug-in installed in your browser of choice. Chrome seems to be the most trouble-free. We support Phantom, Solflare, and Backpack wallet plug-ins. The use of a Ledger device is supported by all three. Other device and wallet combos may also work. Be aware that using a hardware wallet may slightly slow down the claims process.
On mobile devices, you will need to use the browser built into the wallet app. Claiming directly from a normal browser on a mobile device does not work. We support Phantom, Solflare, and Backpack wallets.
Configuration
-
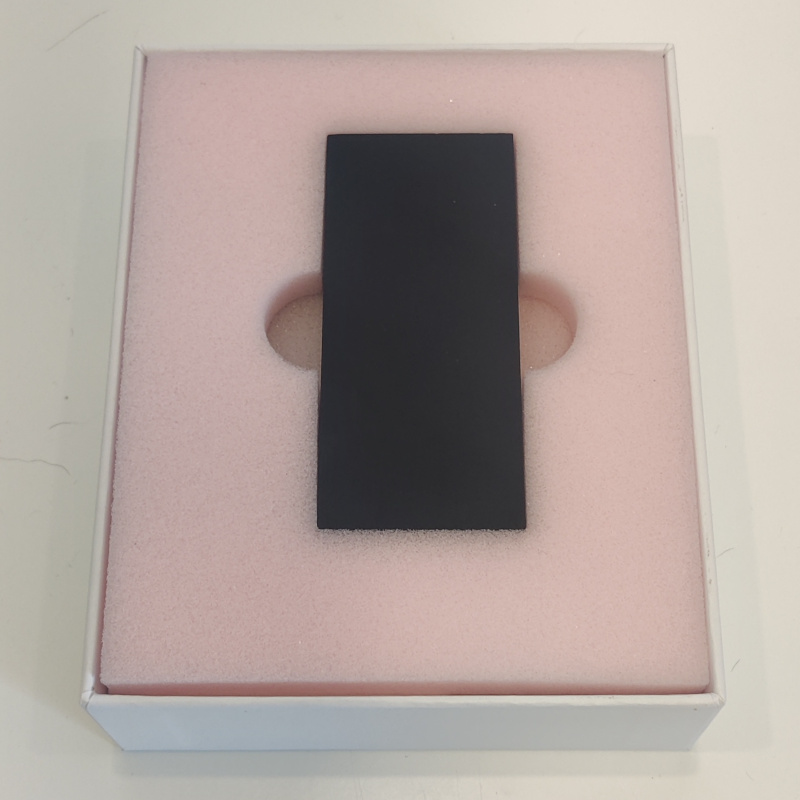
Carefully unbox your Ashlar. If you purchased more than one, please unbox and configure them one at a time.
-
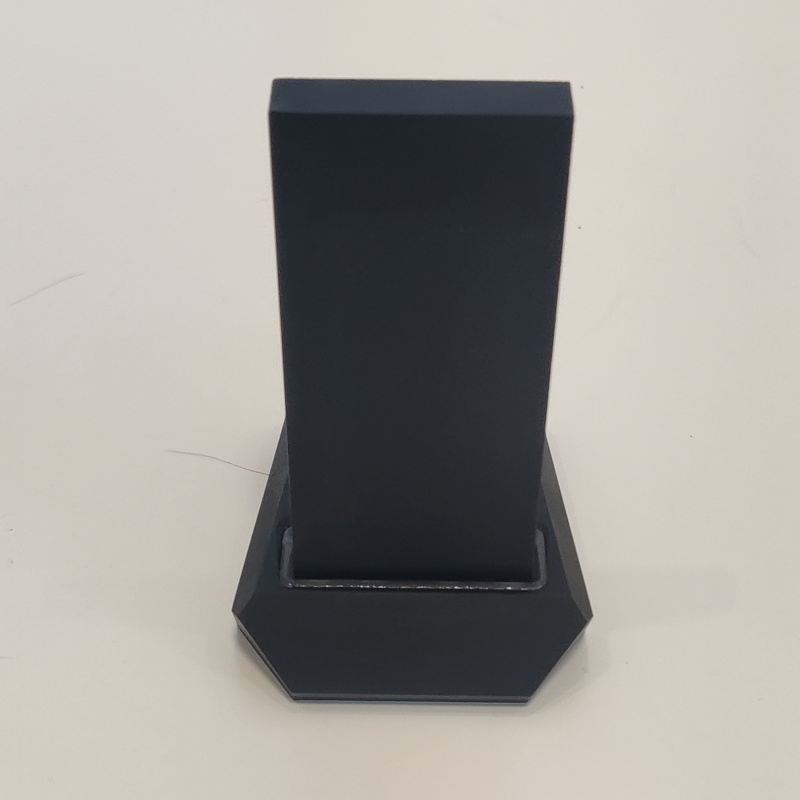
Insert the Ashlar into the base. It only fits into the base in one orientation (as illustrated below). Do not try to force it in place. Plug the base into the wall using the provided power supply and power only cable. It will greet you by gently pulsing its LEDs. Say good morning.
-
Download the Ashlar provisioning app from the App store or Google Play.


-
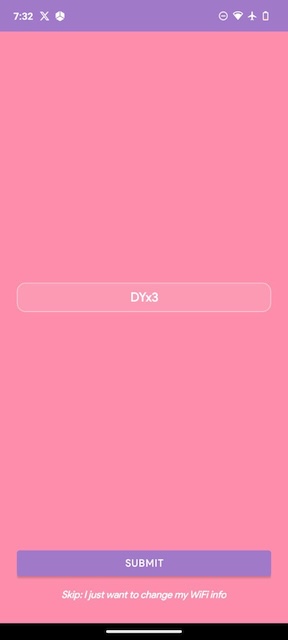
Create a new Solana wallet that will be used exclusively for this Ashlar. Each Ashlar must have a unique solana wallet address, they cannot share a wallet. Fund your Solana wallet with about 0.03 SOL.
-
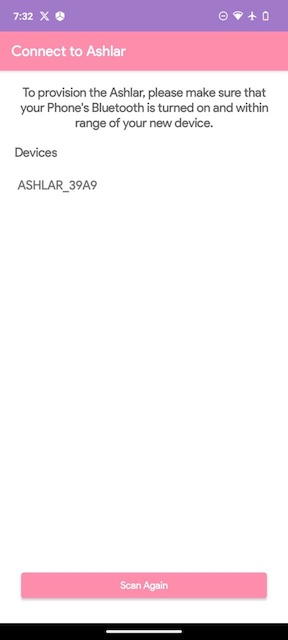
Turn on your phone's Bluetooth.
-
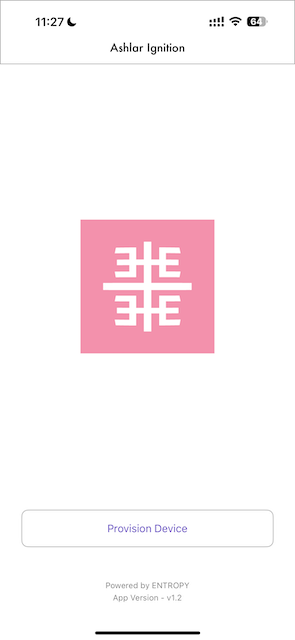
Launch the app.
![]()
![]()
- Tap the button or logo to start the provisioning process.
- Select Ashlar from the list of available devices.

- Enter the address of your new solana wallet and hit submit.

- Select your Wi-Fi network and enter the password when prompted.
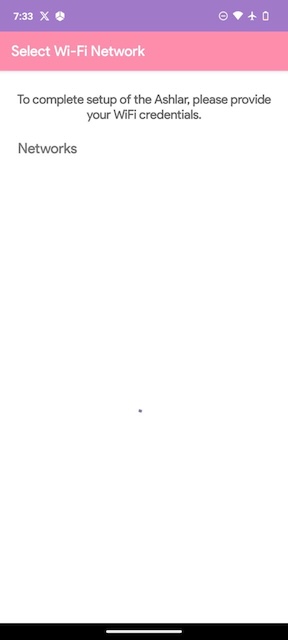
-
The LEDs will pulse green if the Ashlar successfully connects to your Wi-Fi network. If not, they will turn red. If the process failed, go back to step 7 and repeat.
-
The last step in the process is to make your first claim. In order to verify that your device is functioning we have gifted you 1142 ENT. This amount becomes available when your Ashlar registers itself. After making this first claim, your Ashlar will be permenantly tied to you wallet address. Do not lose track of this wallet as it will be permanently required to claim.
Before attempting to make your first claim, please make sure you have at least 0.03 SOL in your mining wallet.
In order to begin mining ENT, you must make your first claim. You will not mine any ENT until after your first claim.
Claiming from a computer
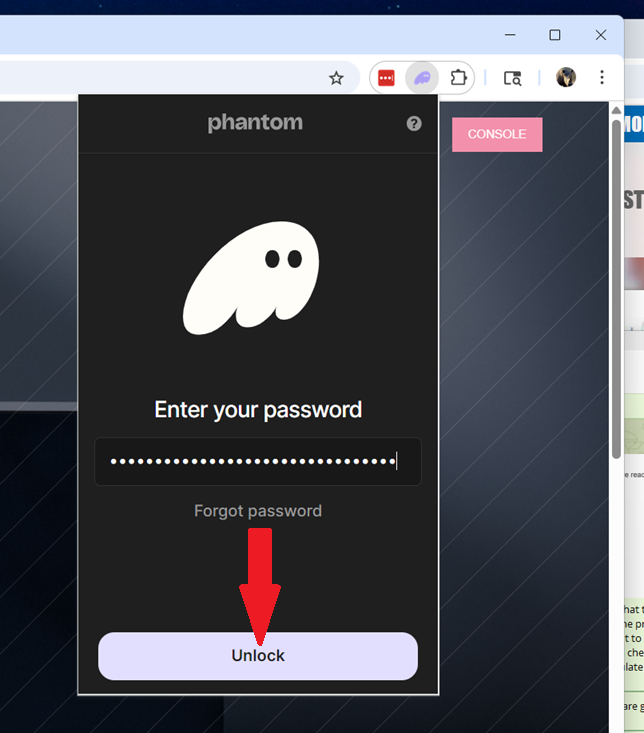
a) Unlock your wallet
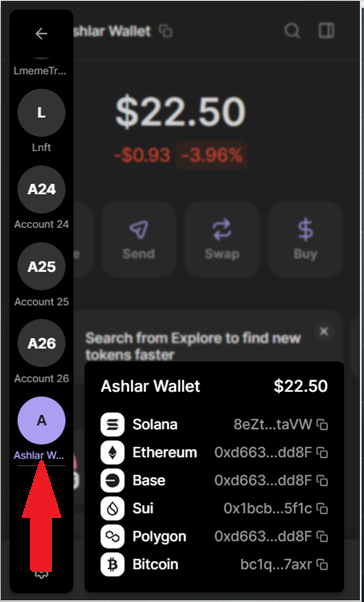
b) Select the wallet you used to register your Ashlar
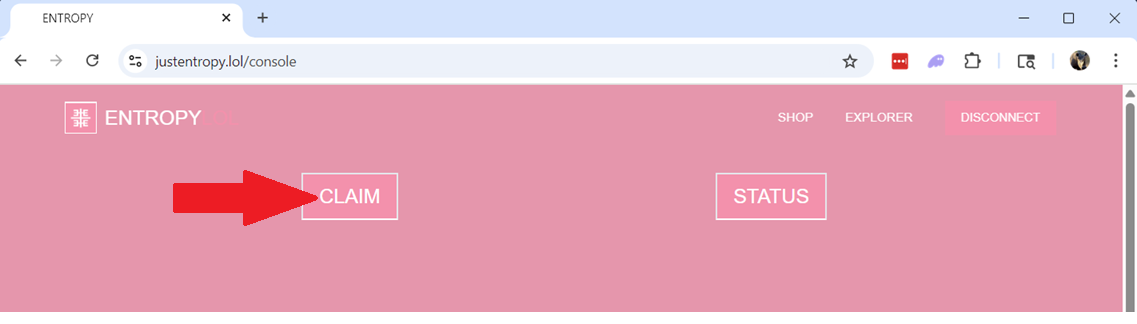
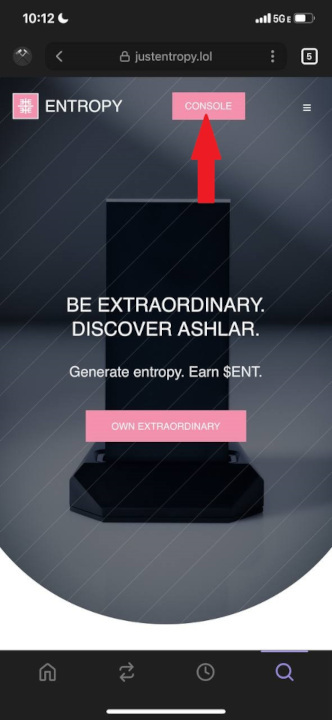
c) Point your browser to https://justentropy.lol
d) Select console in the upper right corner

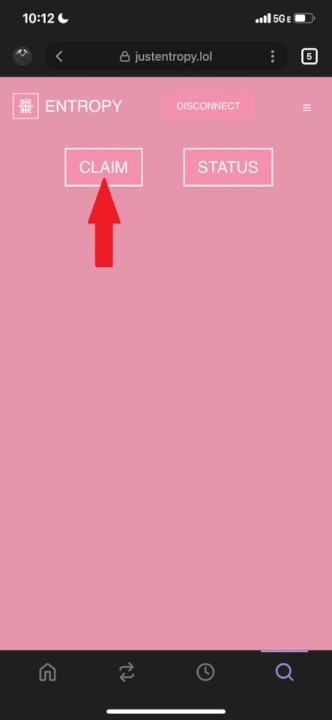
e) On the console page, select the claim button
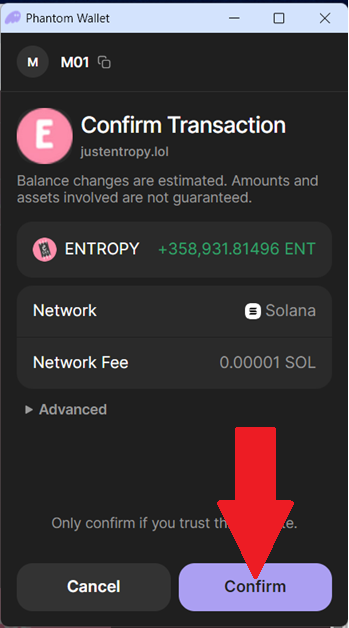
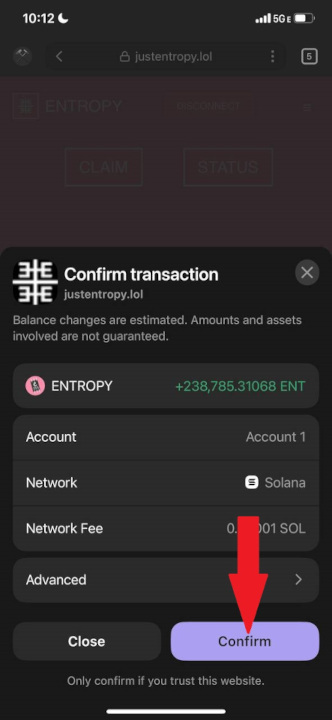
f) Click confirm
g) Sign the transaction
Claiming from a mobile device
a) Open your wallet app (Phantom in this case)
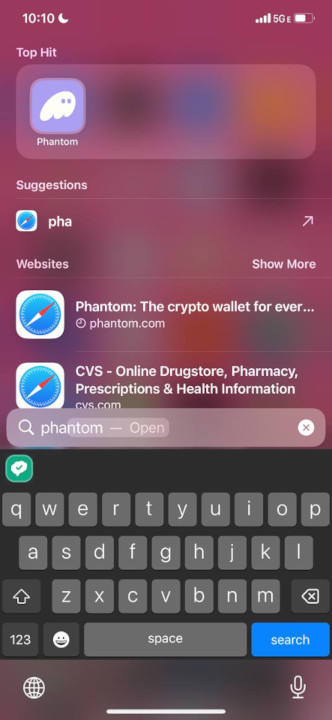
b) Select the wallet you entererd when you registered your ashlar
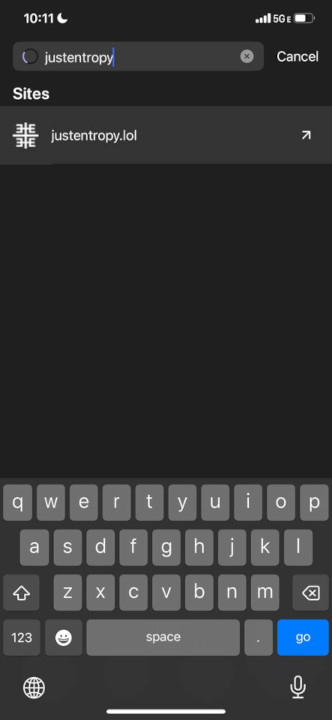
c) Hit the search button
d) Enter "justentropy.lol" in the search box
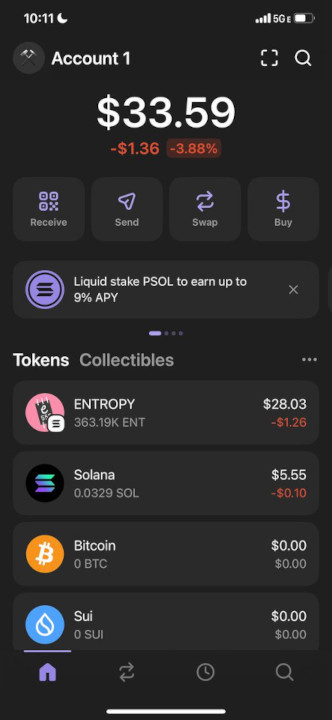
e) Hit the console button
f) On the console page, hit claim
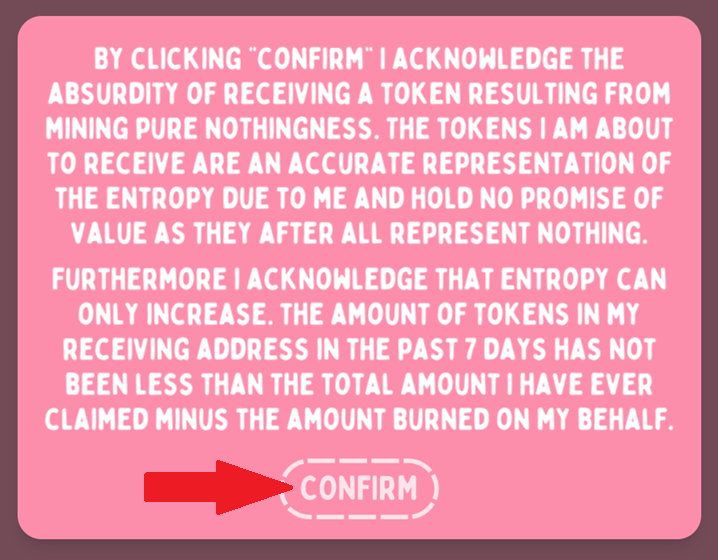
g) Read the disclaimer and hit confirm
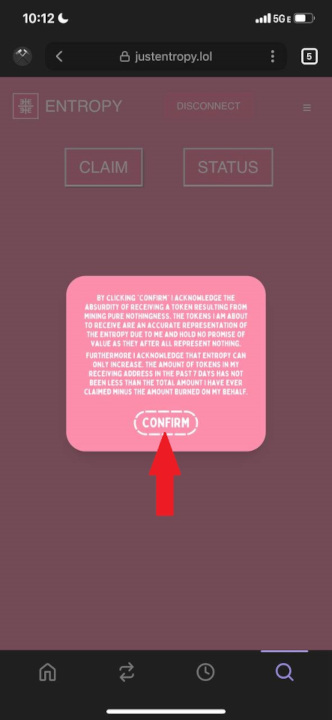
h) Sign the transaction
If there is nothing to claim it means that you entered your wallet address incorrectly. Please proceed to Reprovisioning to rectify this situation.
- Setup is now complete. A few items to note:
- The pairing between your Ashlar and your mining wallet is permenant. Even if you attempt to change it by reprovisioning (after your first claim) the system will ignore the new address.
- Please leave your Ashlar plugged in to a constant power source such as the one that came in the package. Do not leave it connected to a computer as these often shut off power to USB ports to save power. Frequent power cycling of the Ashlar will lower your earnings.
- Your Ashar will send us nothing approximately once an hour, at which time it will emit a pink pulse of light.
- After a few hours you will be able to check the status of your device on the console.
- The Ashlar LEDs will turn red if the Wi-Fi connection is lost.
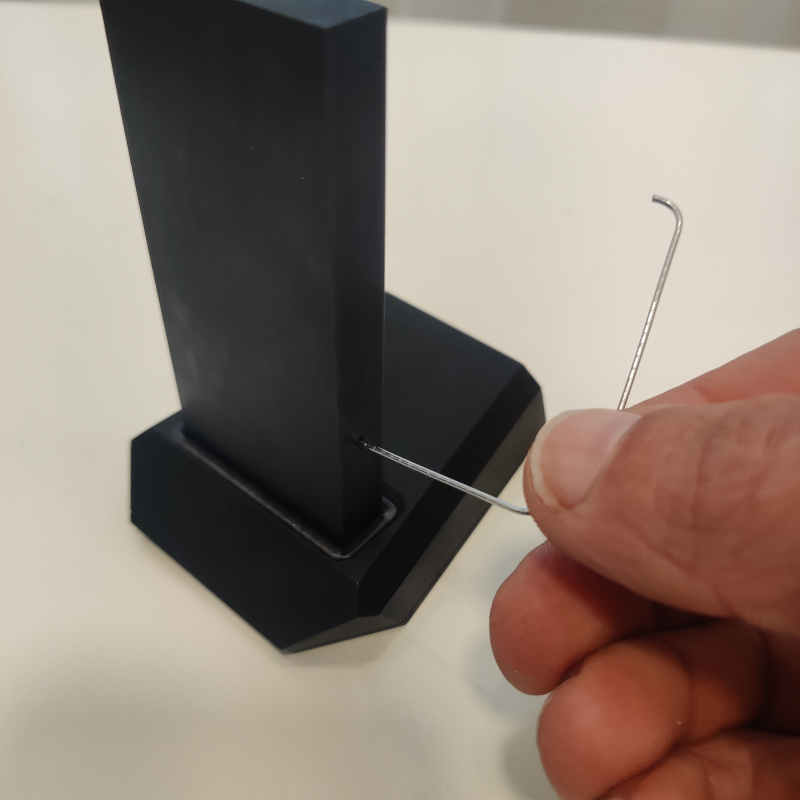
Reprovisioning
You can change the Wi-Fi network that your Ashlar is connected to. If you have not yet claimed on your new wallet you can also submit a new wallet address. If you entered your Solana wallet address incorrectly, this process provides a mechanism to correct it before the a wallet address is permanantly associated with your Ashlar.
To start the reprovisioning process, insert a paperclip or SIM ejector tool into the hole on the side of the device. Depress the button and hold it down for 5 seconds. The LEDs will turn blue. They will then turn red, after which you can release the button. Go back to step 5 and follow the provisioning instructions.